|
|
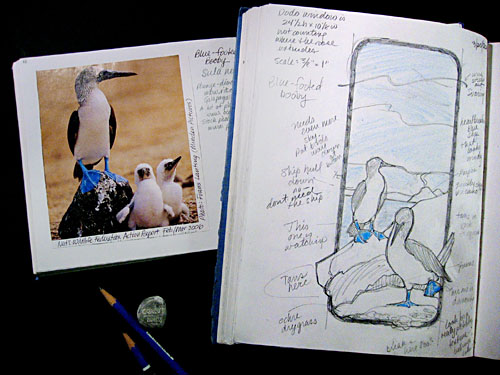
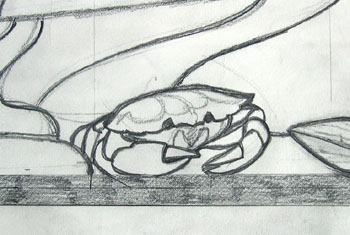
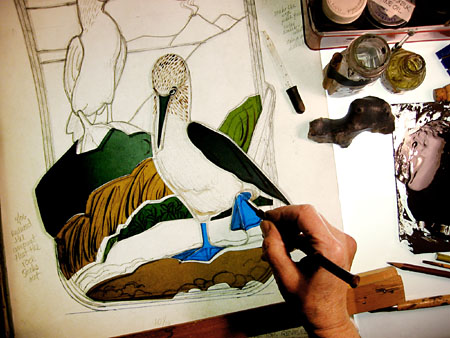
The Process A stained glass window or panel starts with an idea. If it is to be installed, it is important to know where it will be -- the lighting situation, what view is beyond the window, and of course the size. If it is commissioned, I talk with my client about what they expect the window to do for them -- is it to hide something, is it to become part of the decoration, or is it going to be a focal point? Do they have an idea of what they would like to see in that space? At this point it can be very helpful to look at my portfolio or website to see whether there is anything there that appeals. What colors do they like? I warn people to keep in mind that matching colors to their decor is not appropriate for glass because it changes with light. I usually work out the idea first in a rough sketch. I use pencil so that its easy to erase and make changes. Once the subject and basic composition have been worked out in the sketch, I draw the design to scale, using India ink and watercolor. |
--First sketch of the idea and the picture that inspired me.-- |
|
|
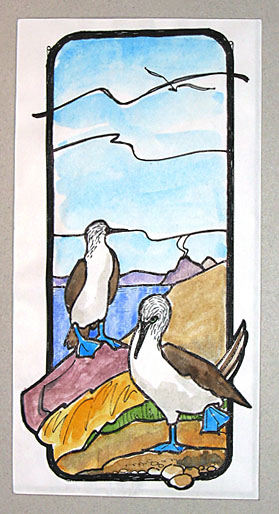
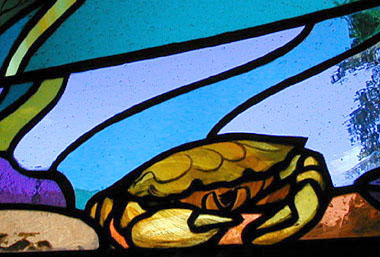
This is what I show a client, or put up on my wall to decide whether to go ahead and put in the work to make the panel. --
Worked out design rendered in watercolor |
|
|
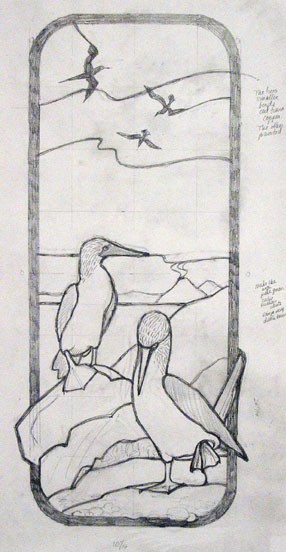
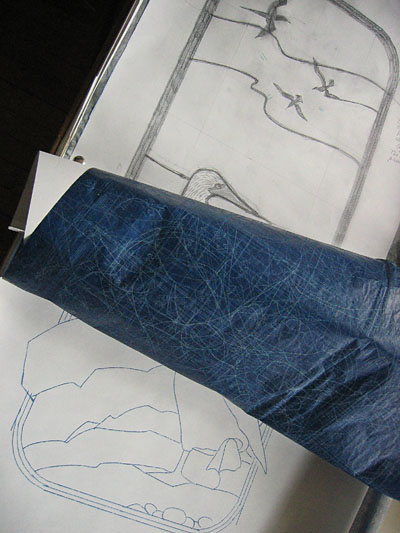
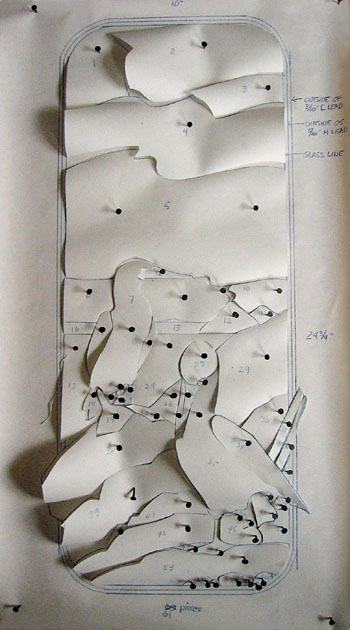
If the idea is approved (or if it looks good to me and I want to make it no matter what), the next step is to draw the full-size cartoon. In this case it is 11" wide by 29" high. This is the working drawing on which all subsequent steps depend. Sizes have to be accurate, and all the details have to be worked out. At this point, color is unimportant, its the lines that matter. Details of the cartoon and many subsequent steps will depend on whether the panel is to be made using copper foil or lead in construction. This panel will be made with copper foil, with lead around the outside.
|
|
|
|
|
|
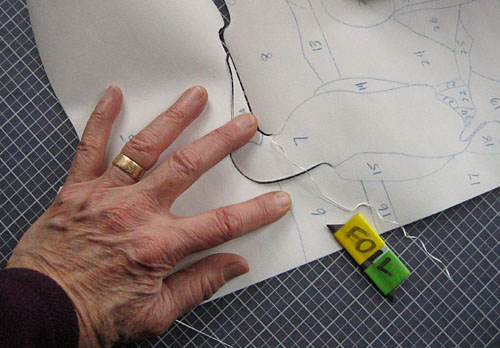
Once the cartoon is drawn, I make several copies, using carbon paper. One will be cut up into patterns for cutting the glass, and another is saved to assemble the final panel on. If any of the pieces of glass look 'uncuttable' or risk a crack this is my last chance to make changes to solve the problem. |
|
|
Each pattern piece is numbered, and they are cut apart with a double blade in order to provide space for the lead or foil that will hold the pieces of glass together. |
|
|
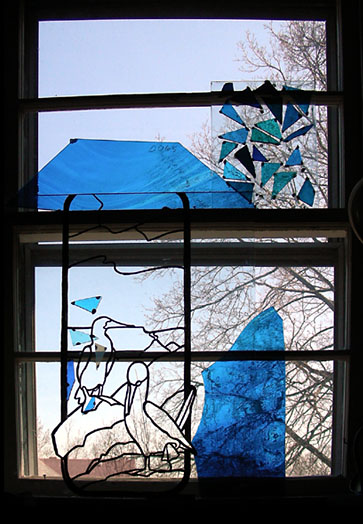
The patterns are tacked down on a second copy to keep them organized. I also make a 'black-line', a copy of the design on plate glass, using black enamel paint. This is propped up in the studio window, and as I cut glass I use beeswax to fasten the glass up on it in order to see the color relationships. |
|
|
The black-line is in the window and I am starting to select glass, using small samples of the glass available |
|
|
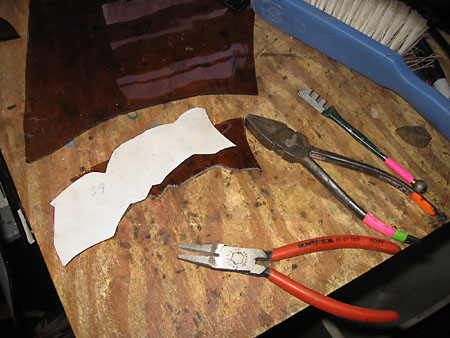
Cutting is done with a glass cutter from the hardware store, aided by 'breaking' and 'grozing' pliers and an electric grinder with a diamond bit to refine the shape. The cutting must be very exact, especially for copper-foil panels. |
|
|
All
the pieces of glass are waxed up here. The many dark blobs are the wax. Please note:
no actual 'staining' of the glass is done, except for some occurrences of yellow.
When heated, certain silver compounds will react with the chemicals making up some
(not all!) glass to produce a range of yellow and amber shades. With very few exceptions,
I use mouthblown glass imported from Europe. It is necessary to have on hand a wide
variety of colors ; selection is done on the basis of both color and texture. |
|
|
Trace
painting here is being done on a light box, using special glass paints mixed with
an oil medium. |
|
|
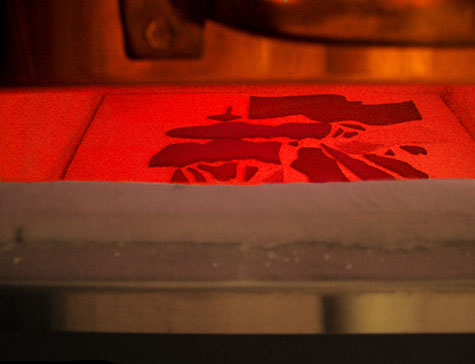
Here
the glass has just begun to cool after its firing. Cooling is slow, to allow the
glass to anneal properly. |
|
|
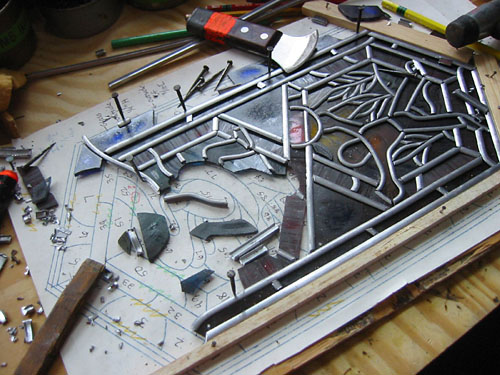
When
each piece piece of glass is in its final state, it is time for assembly. The traditional
method is "leading", using H-shaped strips of lead between the pieces to
hold them together, and soldering all the joints. Here you see strips of leads carefully
bent to shape and cut to size, held in position with nails. |
|
|
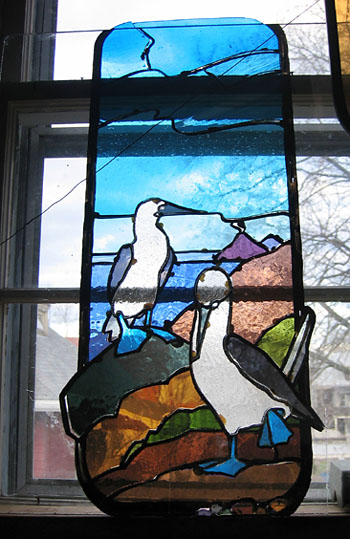
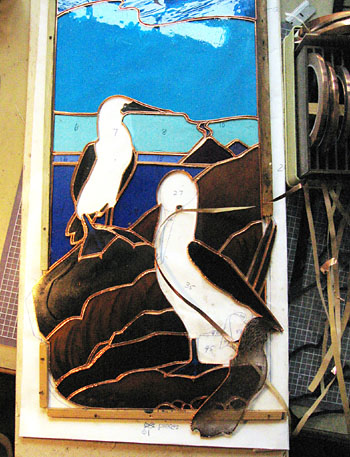
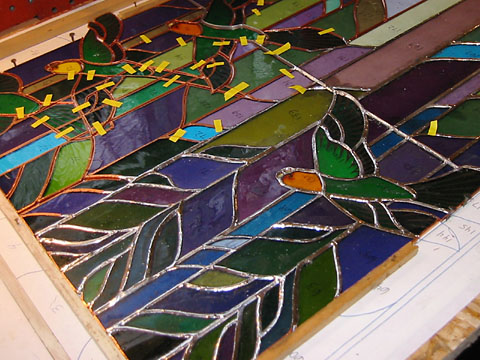
The 'copper foil' technique was developed a little over 100 years ago. Adhesive-backed copper foil comes in rolls of different widths. The foil is wrapped around the edges of each piece of glass and they are fitted closely together. Lead is usually around the outside. |
|
|
The
front corner of this panel has been soldered; in the background tacks and pieces
of tape are holding the remaining pieces, ready for a bead to be run. |
|
|
|
|